آموزش margin در CSS
برای آموزش بهتر margin از یک مثال کمک میگیریم.
فایل html و css زیر را اجرا کنید.
<!DOCTYPE html>
<html>
<head>
  <title>lesson</title>
  <meta charset="utf-8">
  <link rel="stylesheet" type="text/css" href="lesson10.css">
</head>
<body>
  <div id="test" class="test">
      hello world!<br>
      hello world!<br>
      hello world!<br>
      hello world!
  </div>

  <div id="test2" class="test">
      hello world!<br>
      hello world!<br>
      hello world!<br>
      hello world!
  </div>
</body>
</html>
#test{
  background-color: yellow;
  border:red groove 5px;
  border-radius: 10px;
}

#test2{
  background-color: #112299;
  color: white;
}
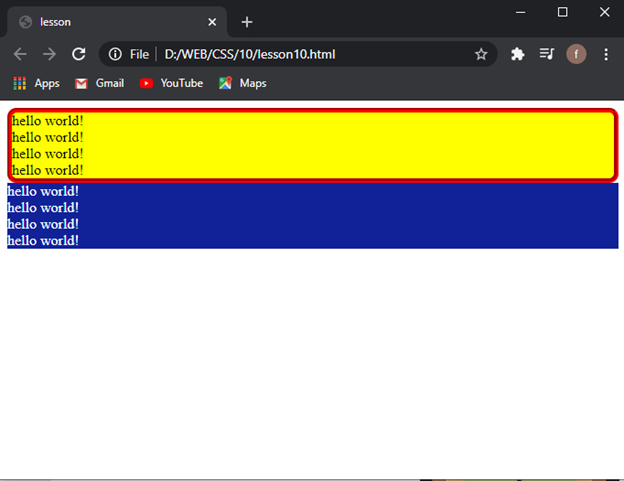
وقتی در صفحه مرورگر خود ctrl+shift+i را بزنید و میتوانید box model را ببینید که به صورت زیر است.
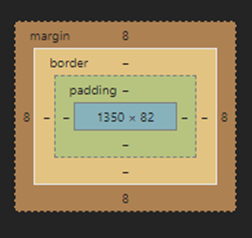
قسمت آبی رنگ محتوای شماست. بخش کرمی رنگ border شماست و در جزوه border آموزش داده شد.
Padding فاصله بین محتوای شما و کادربندی است. اگر در مثالی که اجرا کردیم مشاهده کنید، متن ها به کادر بندی شما چسبیده اند. با تعریف padding میتوانید این مشکل را برطرف کنید.
و همچنین margin که فاصله بین کادر و دیگر المان ها را مشخص میکند.
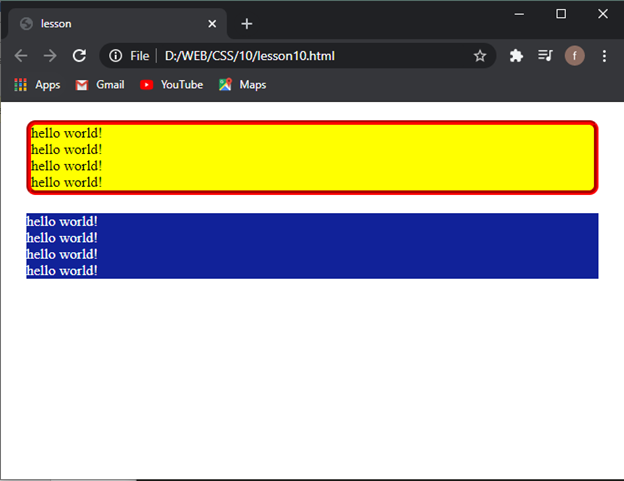
حال میتوانیم به کمک margin فاصله بین المان ها را تنظیم کنیم.
#test{
  background-color: yellow;
  border:red groove 5px;
  border-radius: 10px;
}

#test2{
  background-color: #112299;
  color: white;
}

.test{
  margin: 20px;
}
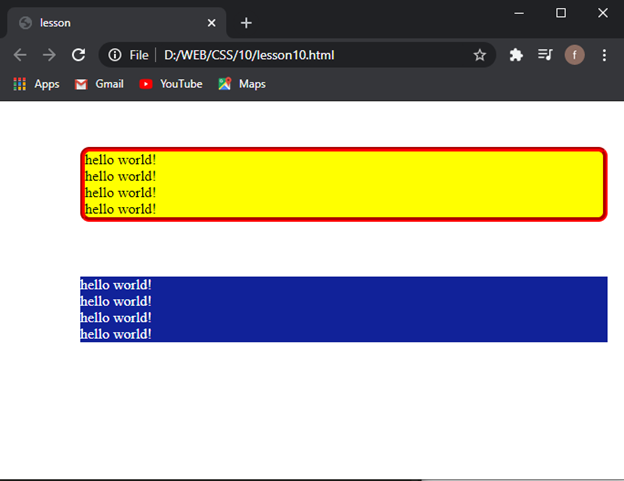
همچنین میتوانید مارجین را به طور دیگری تعریف کنید. برای مثال:
Margin: 50px 5px; که عدد اول برای فاصله بالا و پایین و عدد دوم فاصله چپ و راست است.
#test{
  background-color: yellow;
  border:red groove 5px;
  border-radius: 10px;
}

#test2{
  background-color: #112299;
  color: white;
}

.test{
  margin: 50px 5px;
}

میتوانید به صورت فاصله های مختلف هم تنظیم کنید. مثلا:
Margin: 50px 10px 60px 80px; عدد اول بالا، عدد دوم راست، عدد سوم پایین، عدد چهارم چپ.
#test{
  background-color: yellow;
  border:red groove 5px;
  border-radius: 10px;
}

#test2{
  background-color: #112299;
  color: white;
}

.test{
  margin: 50px 10px 60px 80px;
}
برای دیدن آموزش های بیشتر جزوات CSS را دنبال کنید.