آموزش width و height در CSS
در این بخش یاد میگیریم چگونه طول و عرض المانی که در نظر داریم را تغییر داده و انواع مقدار دهی را می آموزیم.
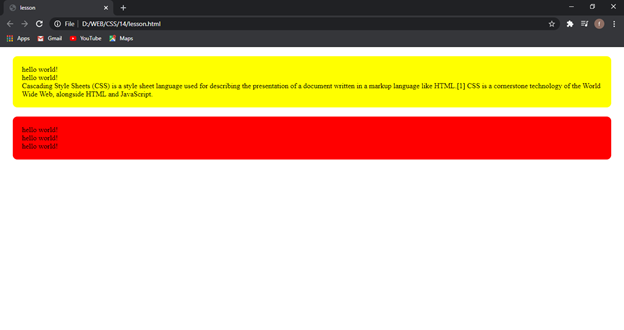
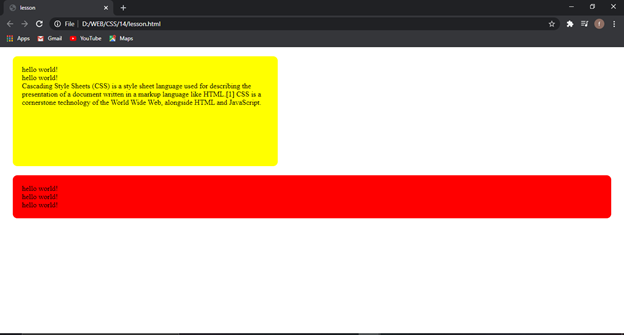
برای شروع کار مثال زیر را اجرا کنید.
<!DOCTYPE html>
<html>
<head>
  <title>lesson</title>
  <meta charset="utf-8">
  <link rel="stylesheet" type="text/css" href="lesson.css">
</head>
<body>
  <div id="firstdiv" class="test">
      hello world!<br>
      hello world!<br>
      Cascading Style Sheets (CSS) is a style sheet language used for describing the presentation of a document written in a markup language like HTML.[1] CSS is a cornerstone technology of the World Wide Web, alongside HTML and JavaScript.
  </div>

  <div id="seconddiv" class="test">
      hello world!<br>
      hello world!<br>
      hello world!
  </div>

</body>
</html>
.test:nth-child(2n){
  background-color: red;
}

.test:nth-child(2n+1){
  background-color: yellow;
}

.test{
  margin: 20px;
  border-radius: 10px;
  padding: 20px;
}

div:hover{
  margin: 40px;
  color: blue;
}
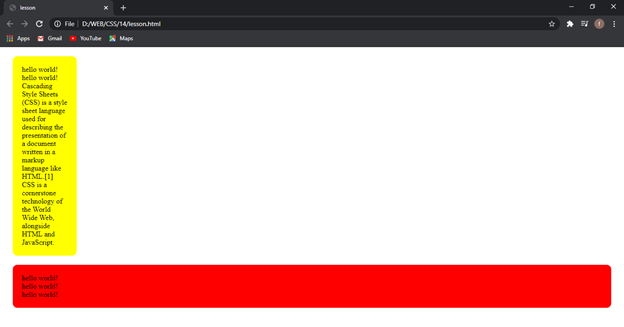
میتوانیم طول div اول را با دستور زیر تغییر دهیم.
.test:nth-child(2n){
  background-color: red;
}

.test:nth-child(2n+1){
  background-color: yellow;
}

.test{
  margin: 20px;
  border-radius: 10px;
  padding: 20px;
}

div:hover{
  margin: 40px;
  color: blue;
}

#firstdiv{
  width: 100px;
}
میبینید که با طول ۱۰۰px که انتخاب کردیم، یک عرض متناسب با آن را به وجود آورد.
همچنین میتوانید عرض div را هم تغییر دهید.
.test:nth-child(2n){
  background-color: red;
}

.test:nth-child(2n+1){
  background-color: yellow;
}

.test{
  margin: 20px;
  border-radius: 10px;
  padding: 20px;
}

div:hover{
  margin: 40px;
  color: blue;
}

#firstdiv{
  width: 100px;
  height: 100px;
}
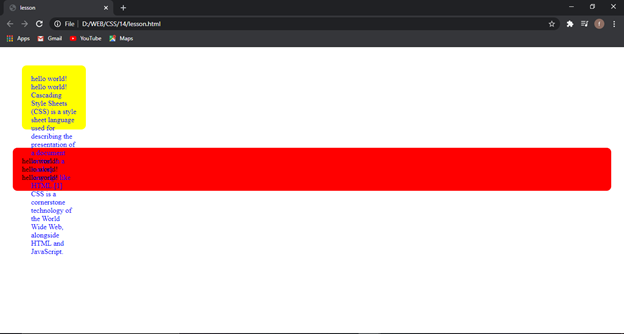
با عرض جدیدی که تعریف کردیم میبینید که overflow یا همان سرریز رخ داد و یک جلوه بدی به صفحه شما اعمال شد. برای حل این مشکل بهتر است از overflow استفاده کرده و متن را در جای مشخص خود نگه دارید.
.test:nth-child(2n){
  background-color: red;
}

.test:nth-child(2n+1){
  background-color: yellow;
}

.test{
  margin: 20px;
  border-radius: 10px;
  padding: 20px;
}

div:hover{
  margin: 40px;
  color: blue;
}

#firstdiv{
  width: 100px;
  height: 100px;
  overflow: hidden;
}
با این کار بخشی از متن که در جای مشخص قرار نمیگرفت hidden میشود.
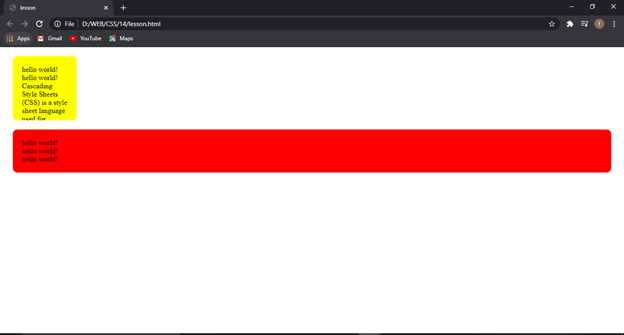
ولی بهتر است در اینجا از متغییر دیگری به جز hidden استفاده کنید تا بتوانید به نحوی به کاربر خود بگویید این متن ادامه دارد.
overflow را در حالت scroll گذاشته تا قابلیت اسکرول کردن را اجرا کند و معنی ادامه دار بودن متن را به کاربر نمایش دهد.
.test:nth-child(2n){
  background-color: red;
}

.test:nth-child(2n+1){
  background-color: yellow;
}

.test{
  margin: 20px;
  border-radius: 10px;
  padding: 20px;
}

div:hover{
  margin: 40px;
  color: blue;
}

#firstdiv{
  width: 100px;
  height: 100px;
  overflow: scroll;
}
حال بیاید طول را به حالت درصدی قرار دهیم.
.test:nth-child(2n){
  background-color: red;
}

.test:nth-child(2n+1){
  background-color: yellow;
}

.test{
  margin: 20px;
  border-radius: 10px;
  padding: 20px;
}

div:hover{
  margin: 40px;
  color: blue;
}

#firstdiv{
  width: 35%;
  height: 100px;
  overflow: scroll;
}
اگر صفحه خود را maximize و minimize کرده میبنید که با توجه به درصد، div اول تغییر میکند.
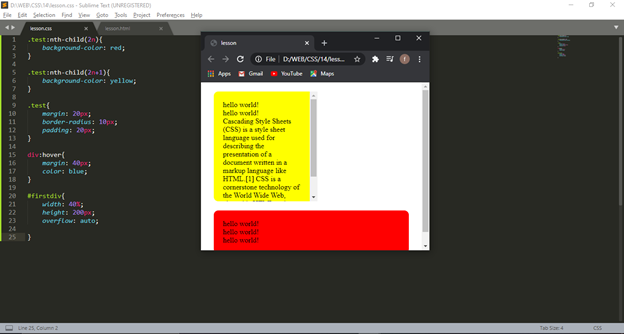
همچنین ویژگی دیگری وجود دارد به اسم overflow: auto; که این دستور تا زمانی که صفحه شما سایز مناسبی دارد، متن شما کامل در آن قرار میگیرد و scroll را نمایش نمیدهد. ولی به محض اینکه سایز صفحه را کوچکتر کنید و متن در بخش مورد نظر قرار نگیرد، scroll خود را نمایش میدهد.
.test:nth-child(2n){
  background-color: red;
}

.test:nth-child(2n+1){
  background-color: yellow;
}

.test{
  margin: 20px;
  border-radius: 10px;
  padding: 20px;
}

div:hover{
  margin: 40px;
  color: blue;
}

#firstdiv{
  width: 40%;
  height: 200px;
  overflow: auto;

}
به محض کوچک شدن، امکان اسکرول کردن را اجرا میکند.
برای دیدن آموزش های بیشتر جزوات CSS را دنبال کنید.